Depending on the type or size of the paper delivered from the shift tray, a paper stacking error due to curling may occur.
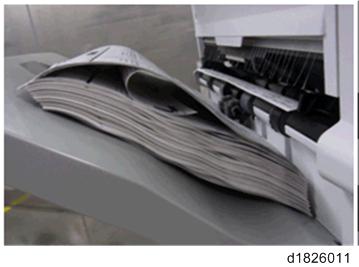
This can be improved by attaching the support tray.
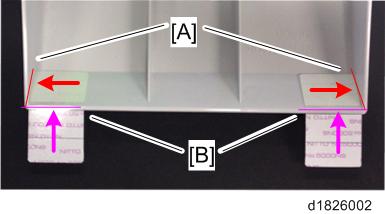
Applying Sheet to Support Tray
- Using alcohol, clean the part on which to apply the sheet [B] on the back of the support tray [A].
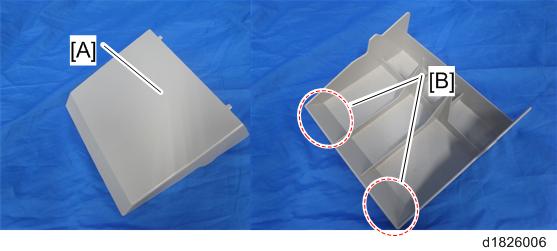
Apply the fixing sheets (serial number D6866611) to the back of the support tray [B].
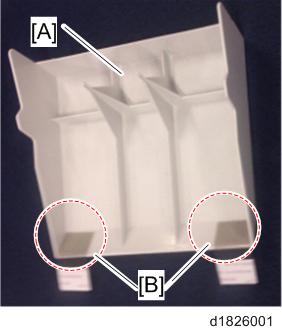
Place the sheets flush against the sidewalls [A] of the support tray, hang the foldable part [B] of the sheet on the tip of the tray, and align them.
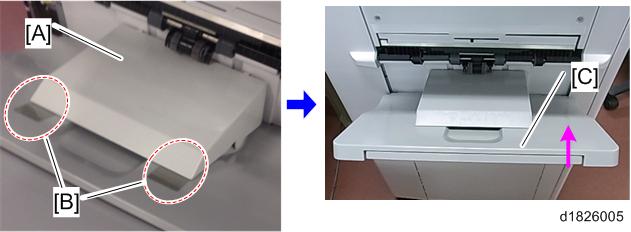
Installation on Shift Tray
Turn the machine’s main power on.
Lift the limit sensor feeler [A] of the finisher by hand to turn it on.
Open and close the front door [A] or proof tray cover [B] to start initialization. The shift tray starts lowering.
Approximately 3 seconds after the shift stars lowering, “JAM227” appears and the machine stops operating.
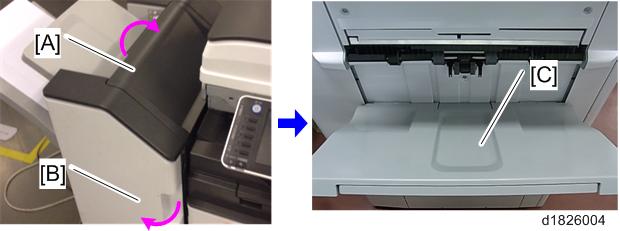
Even if you remove your hand from the limit sensor feeler, the shift tray [C] remains at the lowered position.
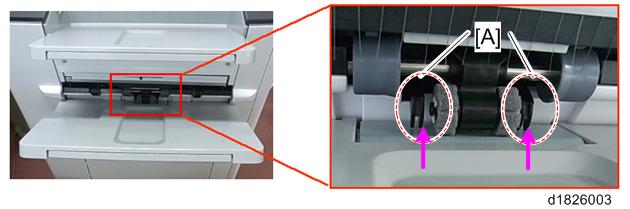
Clean the part on which to apply the fixing sheet [A] with alcohol.
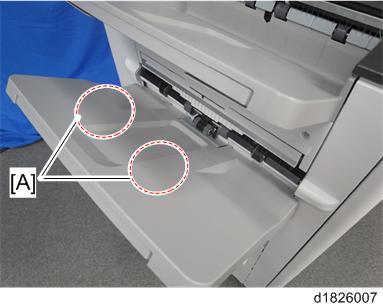
Attach the support tray [A] to the lowered shift tray. Apply the fixing sheet [B] to the shift tray to secure the support tray.
Open and close the front door or proof tray cover to start initialization.
The shift tray [C] starts rising and “JAM227” disappears.