
- When installing more than one SD card, perform the merge operation (SD Card Appli Move).
- Remove the SD card slot cover [A].
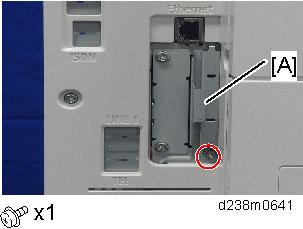
- Insert the VM Card in SD card slot 2 [A: Lower Slot].
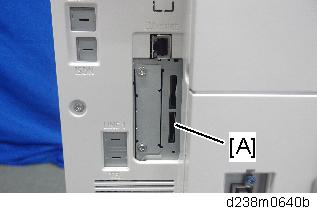
- Reattach the SD card slot cover. (
 ×1)
×1) - Turn ON the main power.
Operate the machine with the JavaVM SD card installed in SD Card Slot 2 (bottom slot).
Installing the Java Platform
Insert the SD card and turn the main power on, then the Java platform is automatically installed.
- Automatic installation takes approximately 1 minute.
- If you turn the power off during installation, the VM card may be damaged.
- Be sure to check the following before turning the power off.
Press [Settings], [Machine Features Settings], and then [Extended Features Settings].
If the installation is completed correctly, [JavaTM Platform] appears in the Extended Features Settings menu.
Press [Exit] twice to exit from the Extended Features Settings menu.
Turn the main power off and then back on.
Print out the "Configuration Page", and then check if this option is correctly recognized.
Settings > Machine Features Settings > Printer Settings > List/Test Page > Configuration Page