
- When installing this option, turn OFF the main power and unplug the power cord from the wall socket. If installing without turning OFF the main power, an electric shock or a malfunction may occur.
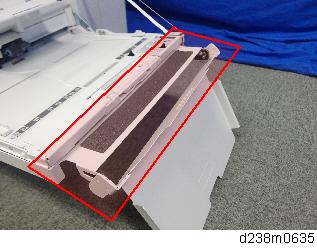
- Be careful not to get your finger caught in the area indicated by the red frame (the tray’s rotating and insertion part).
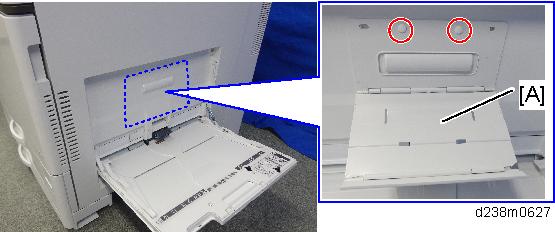
- Open the bypass tray, and then attach the sub-tray [A]. (Rivet x2)
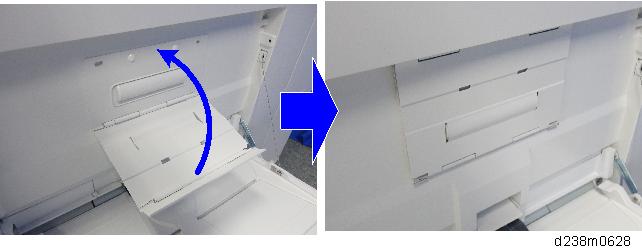
- Fold the sub-tray.
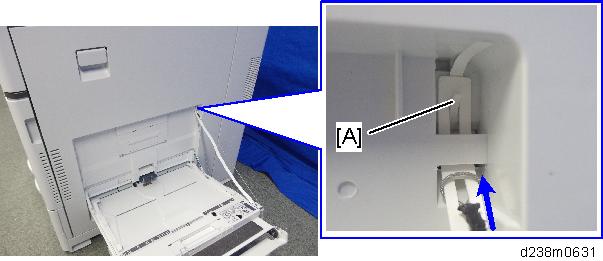
While pressing down the feeler [B] on the bypass tray, push the main tray [A] into the bypass tray to attach it.
When you attach the tray, hold it with both hands to make sure that it does not fall.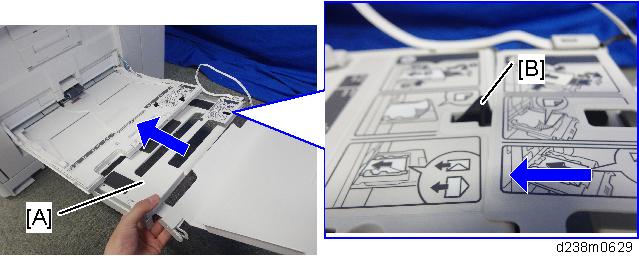

- Check if the locks on the main tray’s sides are engaged.
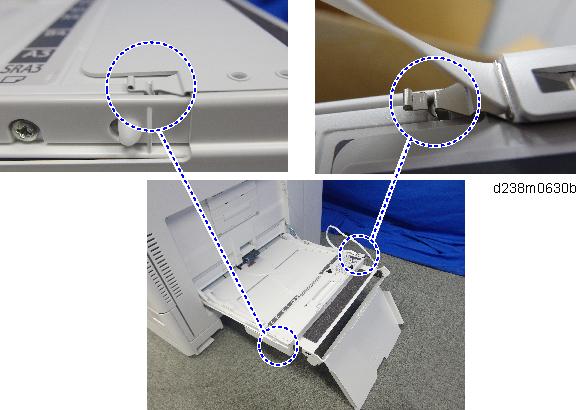
- Check if the locks on the main tray’s sides are engaged.
- Attach the belt by engaging it with the hooks [A].
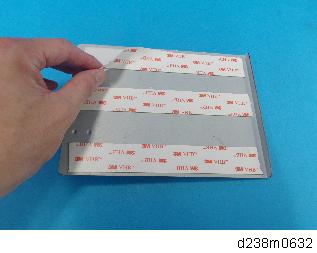
- Remove the backing paper for the double-sided tapes on the lock plate.
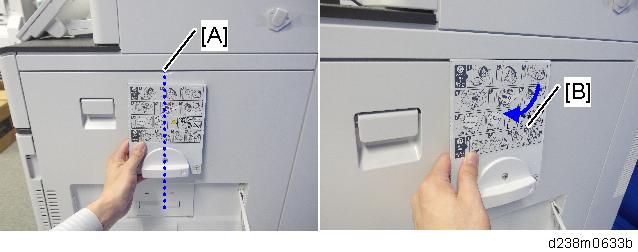
- Stick the lock plate [B] with its center aligned with the indentation [A] on the right door.
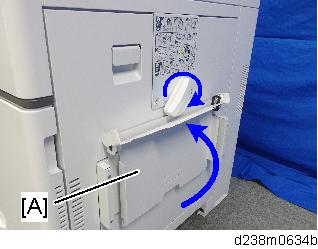
- Tuck in the banner paper guide tray [A].
- The double-sided adhesive tapes stick firmly in about one day.

- When replacing the parts of the Banner Paper Guide Tray, use the installation procedure above in reverse order as a reference in order to make it easier to disassemble the unit.