
- When installing this option, turn OFF the main power and unplug the power cord from the wall socket. If installing without turning OFF the main power, an electric shock or a malfunction may occur.
- Remove the proximity sensor left cover [A].
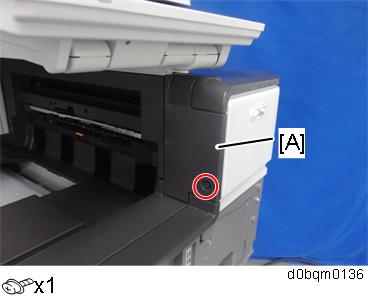
- Open the right door, and then remove the small cover [A].
- Open the front cover.
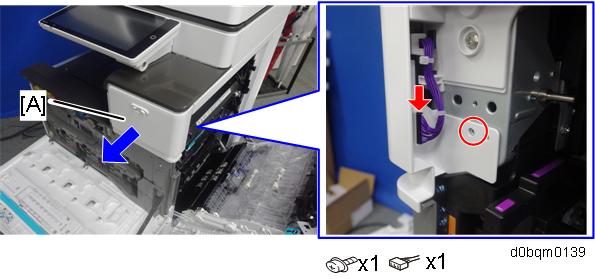
Remove the proximity sensor cover [A].

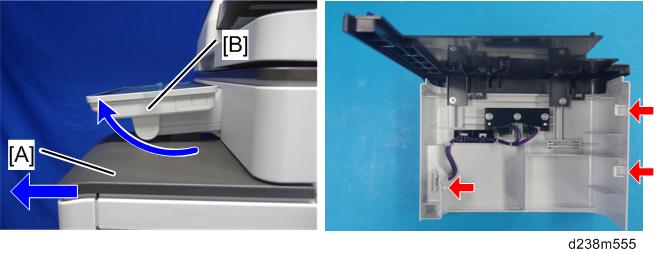
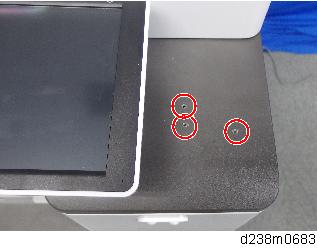
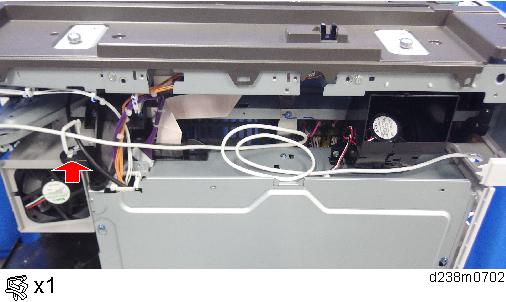
- Remember that there is a tab at the positions of the red arrows.
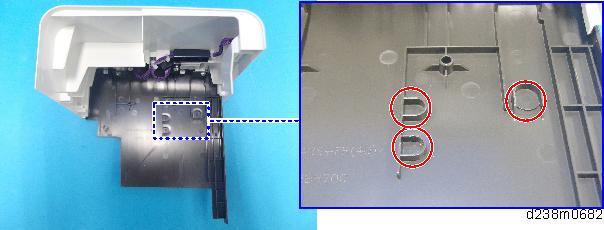
- Rotate the operation panel [B] upward to a horizontal position, and then detach the proximity sensor cover [A].
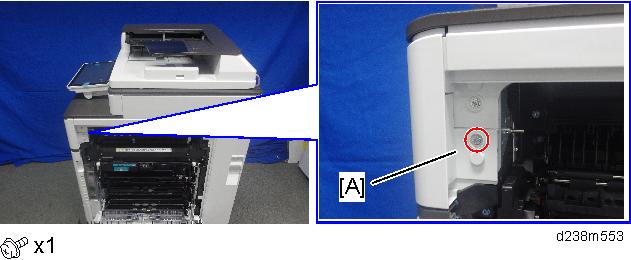
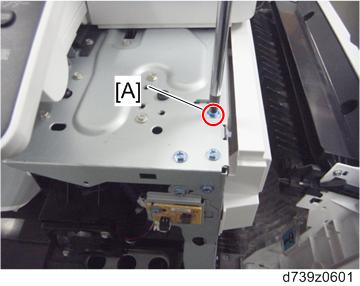
- Remove the screw [A] on the frame of the machine.
- Make 3 screw holes in the proximity sensor cover.
- Reattach the proximity sensor cover and proximity sensor left cover.
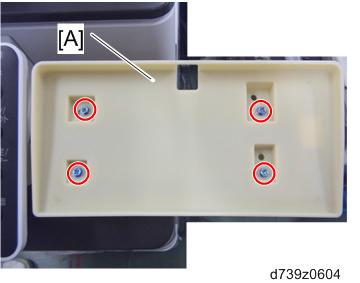
- Attach the keyboard stand bracket [A] on the proximity sensor cover (
 x3).
x3).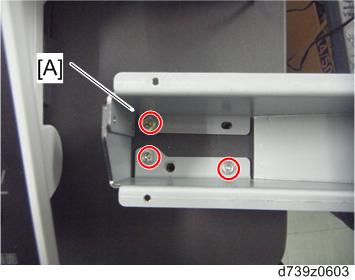
- Attach the keyboard stand [A] on the keyboard stand bracket (x4).
- Place a keyboard on the keyboard stand, and then pass the keyboard cable through the hole in the keyboard stand.
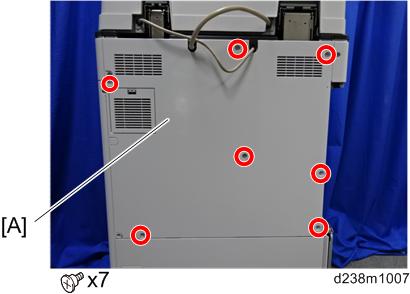
- Remove the rear cover [A].
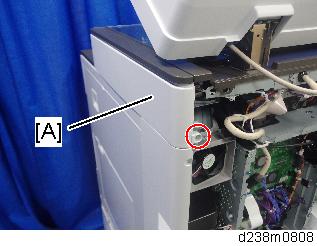
- Remove the scanner right cover [A] (×1)
- Route the keyboard cable [A] along the right side of the scanner unit as shown below.
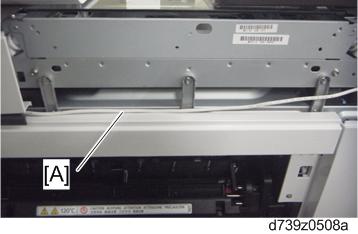
- Route the keyboard cable along the rear side of the scanner unit (
 x1).
x1).- Adjust the keyboard cable by making loops if the keyboard cable has too much slack.
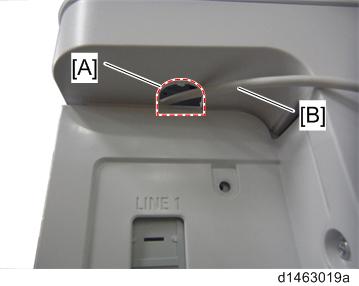
- Remove the cutout [A] in the left rear cover to make a cable hole, and then pass the keyboard cable [B] through it.
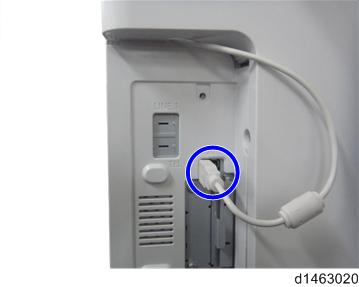
- Connect the keyboard cable to the USB slot.
- Reattach the scanner right cover and rear cover.
- Close the right door.