
- When installing this option, turn OFF the main power and unplug the power cord from the wall socket. If installing without turning OFF the main power, an electric shock or a malfunction may occur.

- To install together with the Internal Finisher SR3250, attach this option before installing the Internal Finisher SR3250.
- If the Internal Finisher SR3250 is already attached, temporarily remove the Internal Finisher SR3250 to install this option.
Remove the packing tapes and retainers, and then remove the accessories (screws, etc.).
- Perform steps 1 to 14 of the installation procedure for the Internal Finisher SR3250 (D3FG), and further remove the following covers.
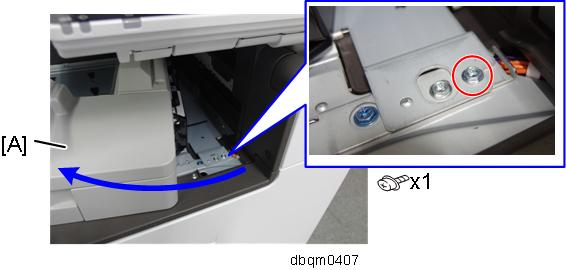
- Inverter Tray [A]

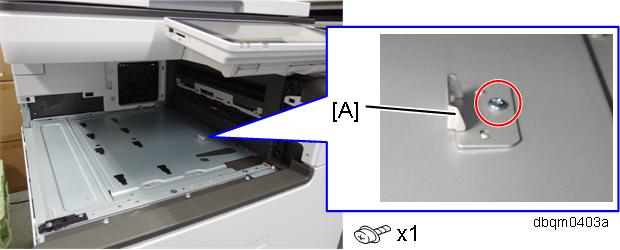
- Connector Cover [A]
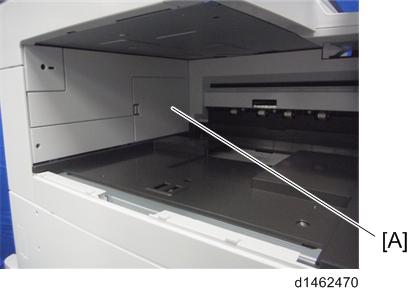
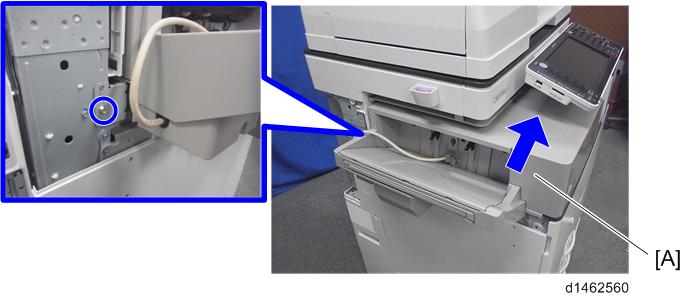
- Inverter Tray [A]
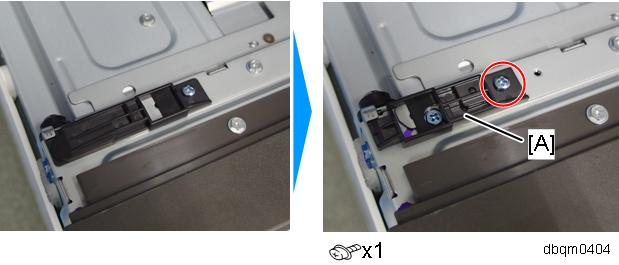
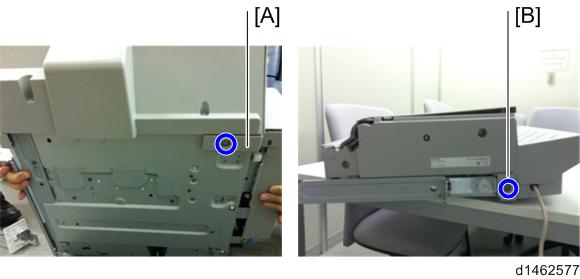
- Remove the bracket [A] of the bottom plate.
- Replace the lock holder of the bottom plate with the supplied lock holder [A].
Use the screw you removed the assembled lock holder.
Attach the proximity sensor left cover (
 ).
).Pass the shafts of the punch unit through the bearings of the bottom plate, and attach to the machine (
×1, knob screw).
If it is difficult to insert by probing, look from the side while you insert it into the bearings of the bottom plate.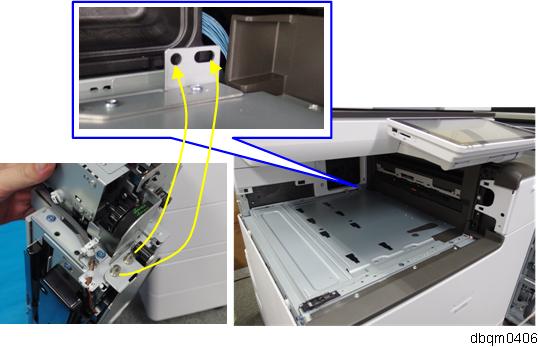

Lift the punch unit up and attach it so that the support plate [B] of the punch unit does not interfere with the front upper cover [A]. (If you attach the punch unit on the front upper cover without lifting it up, the front upper cover may be scratched).

Open the punch unit [A], and then fix it with the supplied screw (M3x6).
- Attach the components [A] and [B] to the finisher (×2: M3x6).
When installing the punch unit in a finisher that is already installed, remove the relay guide plate [A] (
×2).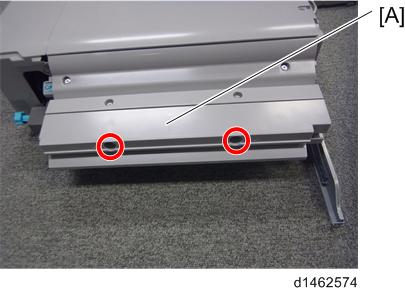
- This step is unnecessary when installing the finisher and punch unit at the same time.
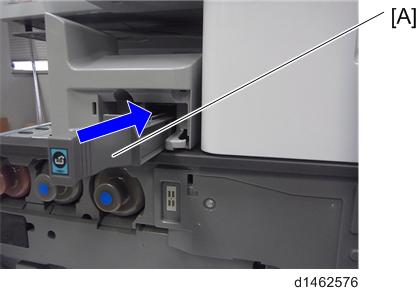
- Insert the hopper [A].
- Slide the finisher [A] along the rail of the bottom plate from the left-hand side of the machine to attach it (×1).
Follow the installation procedure in “Internal Finisher SR3250 (D3FG)” from Step 18 to attach the finisher.