- When unpacking, hold both sides of the SPDF and take it out of the box.
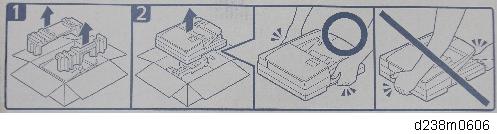
- Place the unit on the machine temporarily, and then remove the packing tape, shipping retainers, and accessories in the package (boards, fixing screws, etc.).
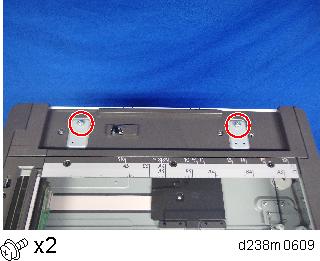
- Attach the 2 stepped screws to the machine.
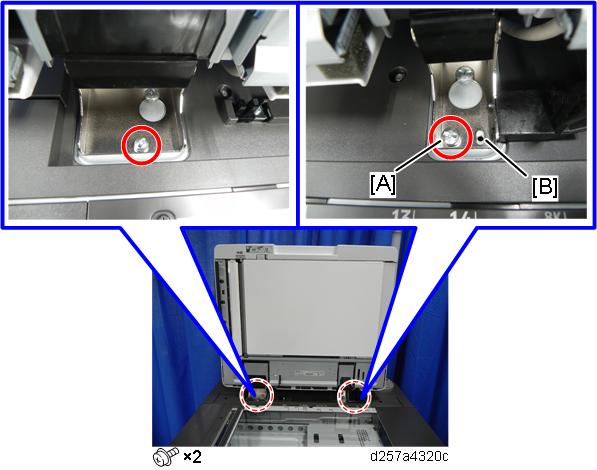
- Align the hinges of the SPDF with the stepped screws, and attach them by sliding them in.
- Fix the SPDF to the machine (coin screws×2).
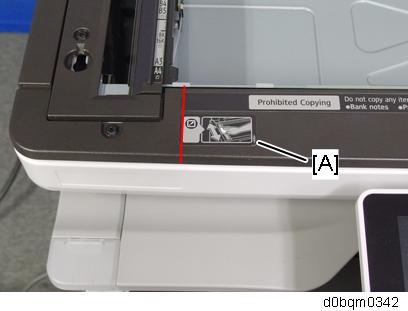
To fix the right hinge, make sure to use the screw hole [A]. The screw hole [B] is for skew correction, so if you attach the screw to screw hole [B], it may cause a skew.
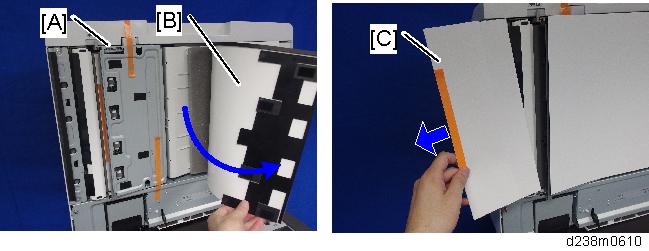
- Release the lever [A], then open the pressure plate sheet [B], and gently remove the protective sheet [C].
- Remove the packing tape, and shut the pressure plate sheet.
- Remove the platen sheet [A], and set it on the exposure glass.
Align it with the left scale and rear scale of the scanner.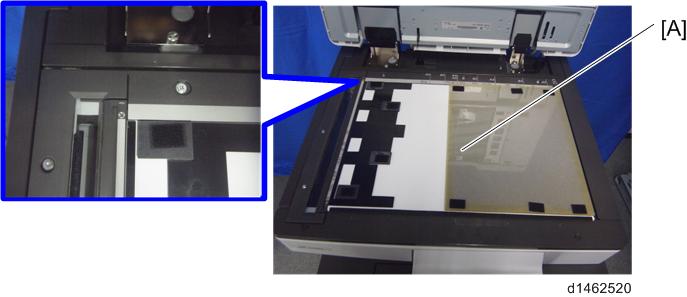
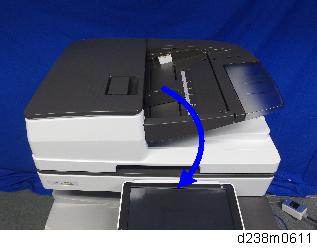
- Close the SPDF slowly, and attach the platen sheet and SPDF.
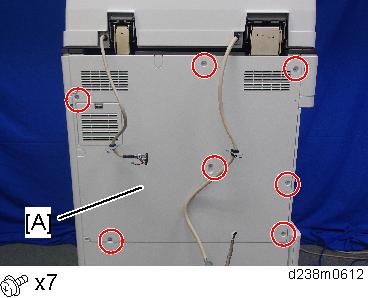
- Remove the rear cover [A].
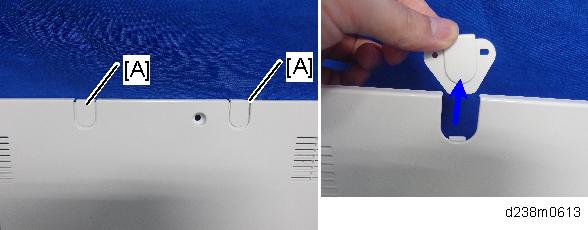
- Remove the small disposable covers [A] on the rear cover.
- Remove the controller box cover [A].
Red Circle: Remove, Blue Circle: Loosen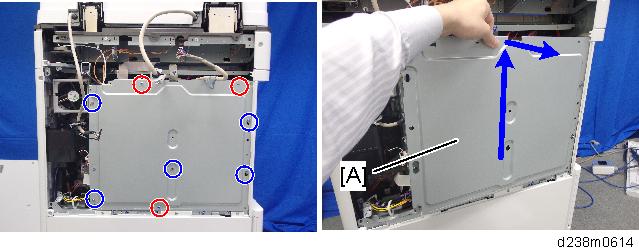
- Connect the SPDF cable as shown and mount the brackets [A] [B] on the machine’s rear frame.
Make sure to connect the grounding wire.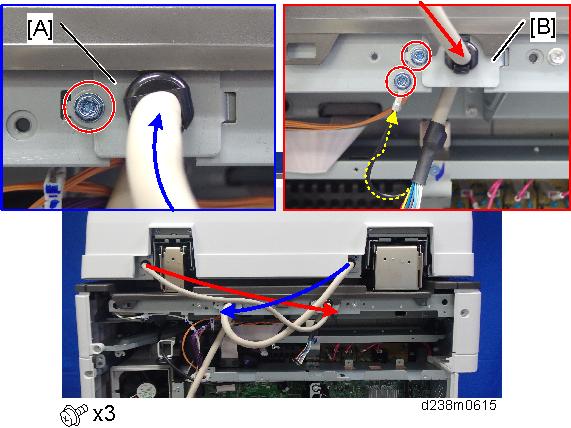
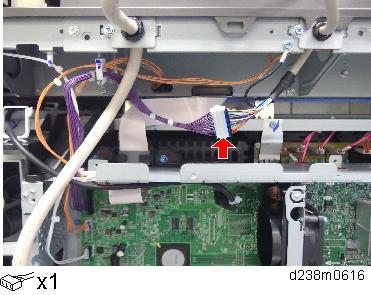
- Connect the scanner cable to the connector at the machine’s rear.
- Attach the scanner cable [A] with the bracket on the upper frame of the controller box.
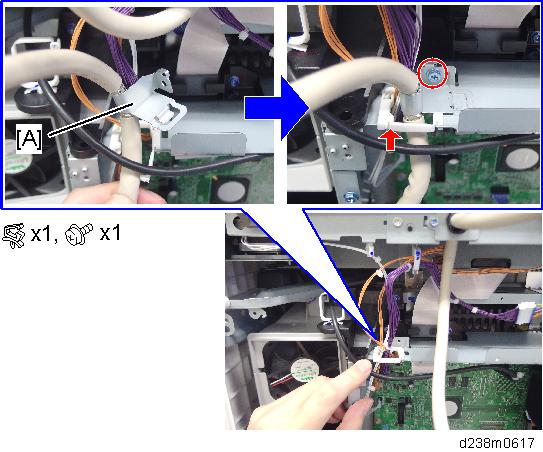
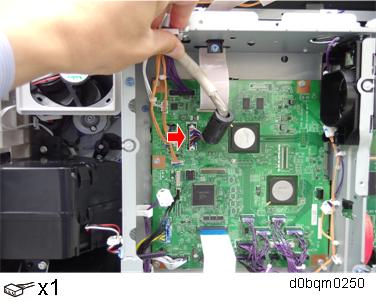
- Connect the cable to the BICU (CN564).
- Reattach the controller box cover and the rear cover.
- Attach the attention decal [A] to the top cover as shown.
- Choose the language that you want (English, French, or Spanish).
- The decal should be affixed inside the rib [B]. Make sure that the decal does not ride up the rib.
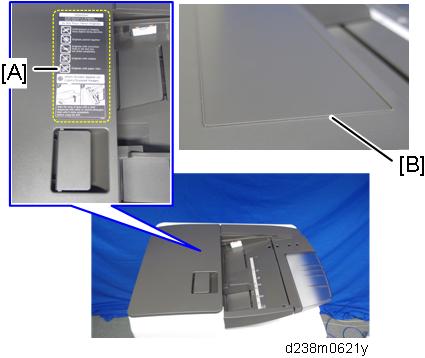
- Attach the decal [A] on the front cover of the scanner unit.
- Plug in and turn ON the main power.
- Check that the registrations (side-to-side and leading edge) and image skew are correct. If they are not, adjust the registrations and image skew (Refer to ADF Image Adjustment).