- Turn OFF the main power.
- Insert the SD card into slot 2 (lower), then turn ON the main power.
- Enter SP mode.
- Select the "Printer SP".
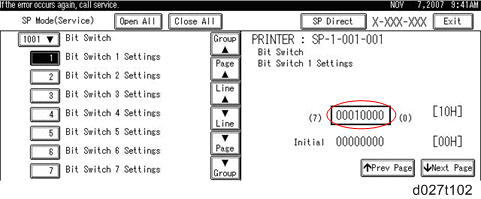
- Select SP-1001 "Bit Switch".

- Select "Bit Switch 1 Settings" and use the numeric keypad to turn bit 4 ON and then press the "#" to register the change. The result should look like: 00010000. By doing this, Card Save option will appear in the "List/Test Print" menu.
- Press "Exit" to exit SP Mode.
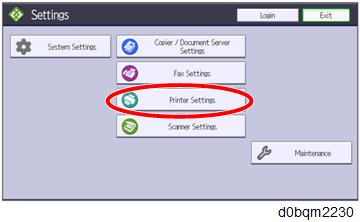
- Press the "Settings" icon > "Machine Features Settings".
- Select "Printer Settings".
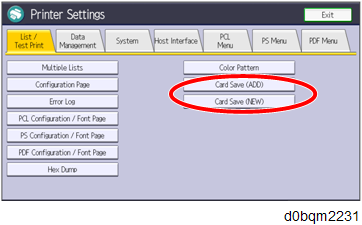
- "Card Save (ADD)" and "Card Save (NEW)" should be displayed on the screen. Select "Card Save (ADD)" or "Card Save (NEW)".
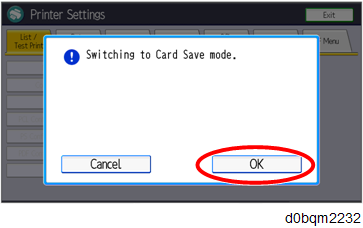
- Press "OK" and then return to Home screen.
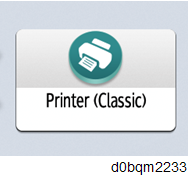
- Press the "Printer (Classic)" icon.
- "Card Save" is be displayed in the top left of the display panel.
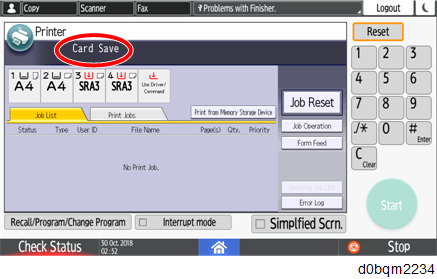
- Send a job to the printer. The Communicating light should start blinking.
- As soon as the printer receives the data, it will be stored on the SD card automatically with no print output.
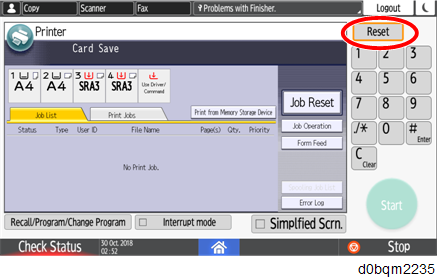
Nothing is displayed on the screen, indicating that a Card Save operation was successful. - Press "Reset" to exit Card Save mode.
- Change the Bit Switch Settings back to the default 00000000, then press the "#" in the numeric keypad to register the changes.
- Remove the SD card after the main power switch is turned OFF.