- Remove the Image transfer belt unit. (Image Transfer Belt Unit)
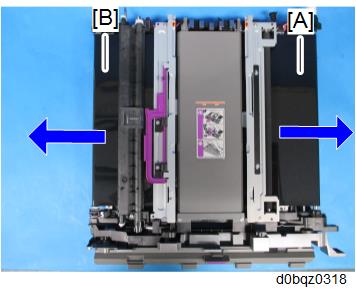
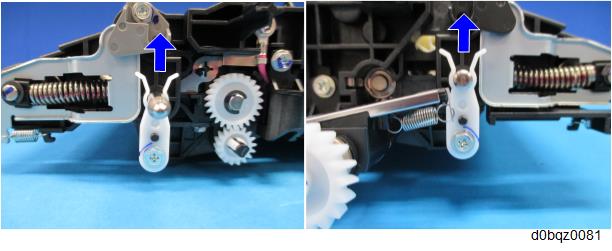
- Remove the ITB lock lever [A] and ITB contact/separation lever [B].
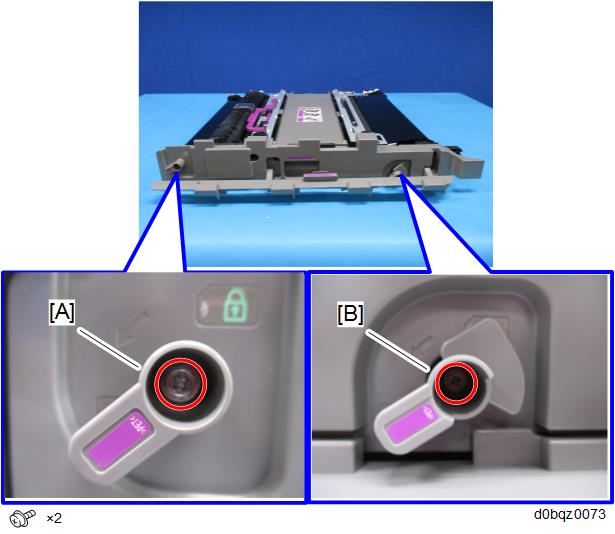
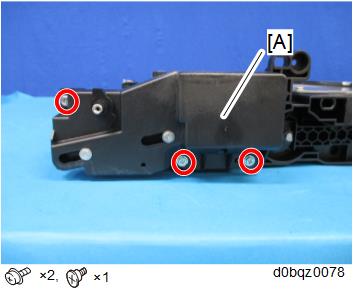
Remove the image transfer front cover [A].
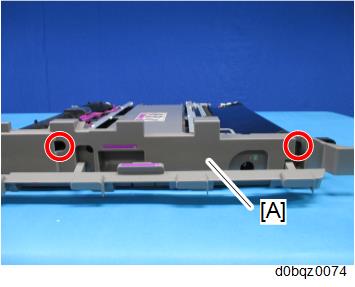
Remove the image transfer upper cover [A].
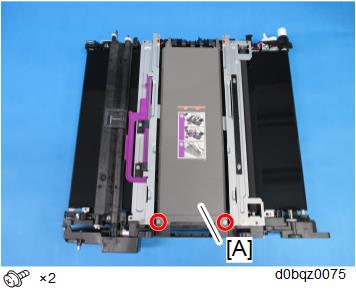
Remove the image transfer belt lock unit [A].
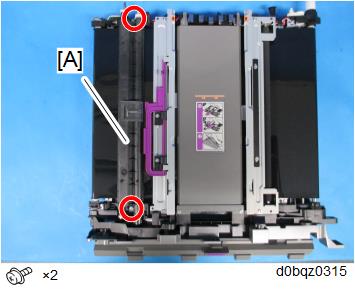
- Remove the screws above the image transfer cleaning unit [A].
- Turn the whole image transfer belt unit over, and remove the screws below the image transfer cleaning unit.
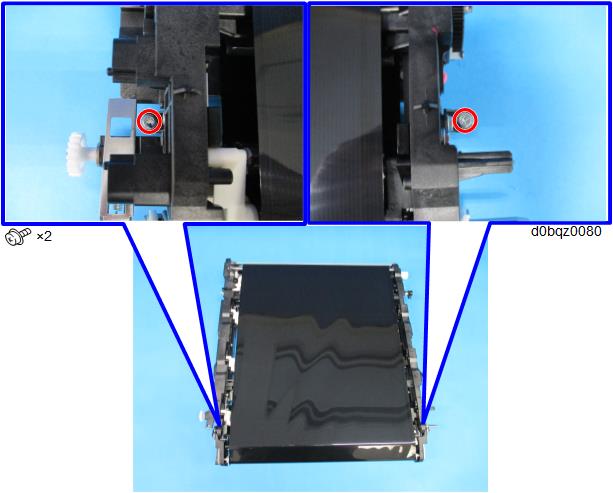
- While releasing the hook, lift the image transfer belt unit gently, and remove the image transfer cleaning unit.
Put toner on the image transfer belt.
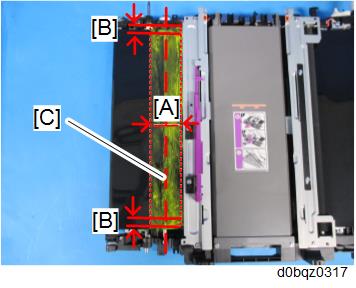
[A]: About 50mm around the Roller [C].
[B]: About 5mm
- It is not necessary to specify the color of the toner, though yellow toner is used in the above example.
Attach the new image transfer cleaning unit [A].

- Rotate the image transfer belt clockwise [A] by approximately 10 mm, and then rotate it counterclockwise [B] through one rotation of the belt. Make sure that the belt has not deviated.