
- When installing this option, turn OFF the main power and unplug the power cord from the wall socket. If installing without turning OFF the main power, an electric shock or a malfunction may occur.

- The internal shift tray cannot be used together with the following peripherals:
- Bridge Unit BU3090 (D3FW)
- Side Tray Type M37 (D3FX)
- Internal Finisher SR 3250 (D3FG)
- Internal Finisher SR 3300 (D3FT)
- Internal Multi-Fold Unit FD3010 (D3FS) - To use together with the "1 Bin Tray BN3130", attach the "1 Bin Tray BN3130" first before installing the internal shift tray.
Remove the packing tape and retainers, and then remove the accessories (screws, etc.).
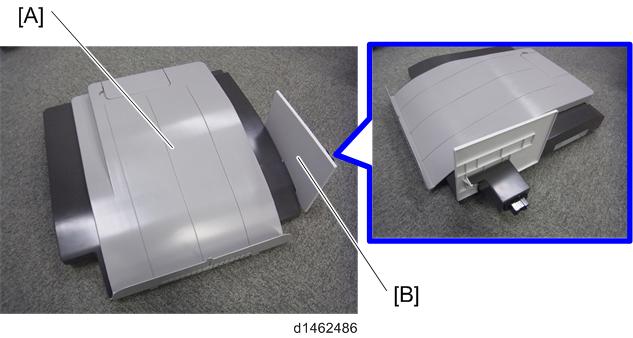
- Attach the tray cover [B] to the shift tray [A].
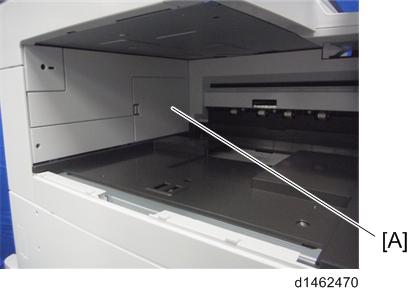
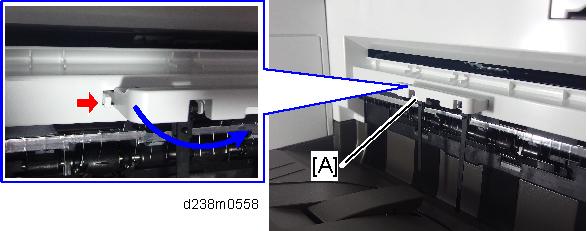
- Remove the paper exit tray [A].
- Remove the connector cover [A].
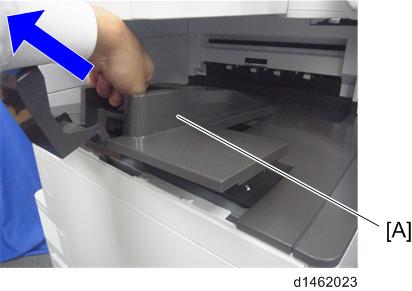
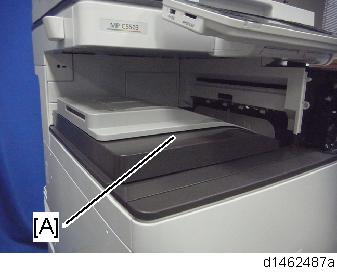
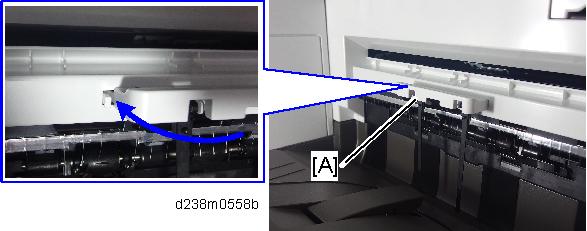
- Attach the shift tray [A].
- Remove the paper exit feeler [A] to apply the Mylar sheet properly.
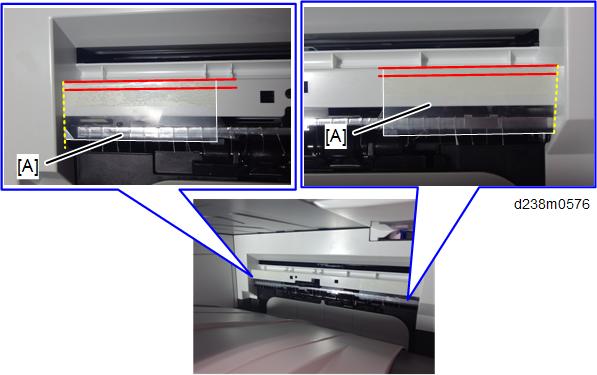
Attach the sheets [A] at the edge of the paper exit cover.

- Make sure to attach the Mylar as shown in the photo below. This is to prevent curling when the paper lands in the tray.
- The Mylar’s top edge should be 0-2.5mm from the top edge of the paper exit cover, i.e. between the two red lines.
- The Mylar's side edge should be flush against the side of the cover, i.e. along the yellow dotted line.
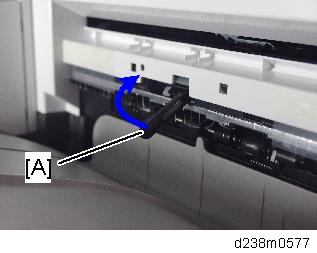
- Tuck in the lever [A] for detecting when the tray is full.
- Reattach the removed paper exit feeler [A].
- Turn ON the main power.
- Check that paper output to the shift tray can be selected at the operation panel, and check the operation.