
- When installing this option, turn OFF the main power and unplug the power cord from the wall socket. If installing without turning OFF the main power, an electric shock or a malfunction may occur.
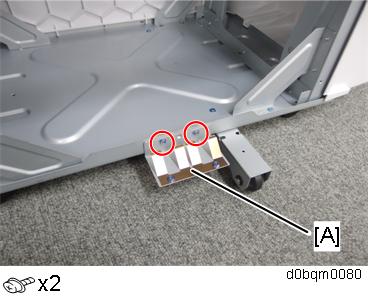
- This finisher is light and has a high center of gravity, so it easily topples when installing or moving it. Therefore, it is equipped with the stabilizer [A] attached to the left side of the finisher when shipped.
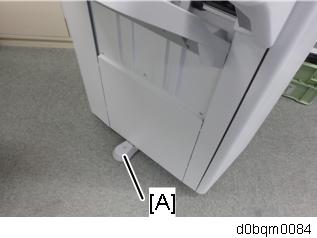
- After unpacking, immediately attach the stabilizer [A] to prevent toppling.
Push it in thoroughly along the guide until it clicks.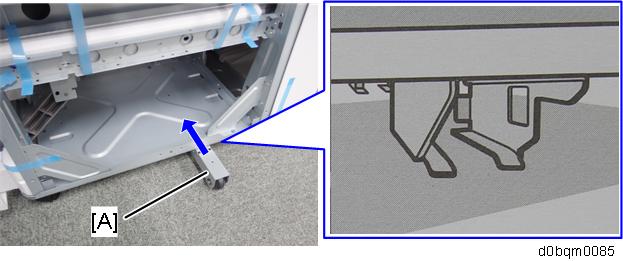
Remove the packing tapes and retainers, and then remove the accessories (screws, etc.).
- Open the front cover, and then remove the packing tapes and packing materials.
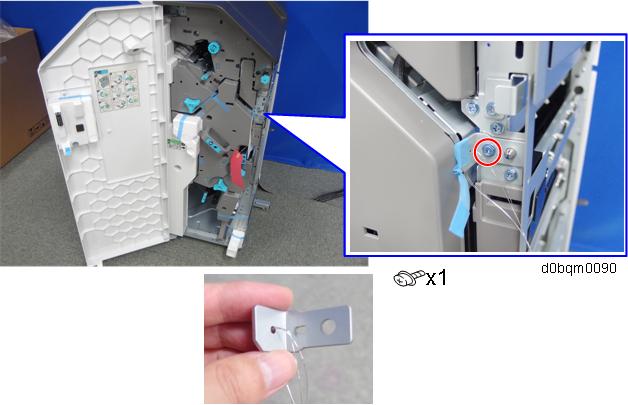
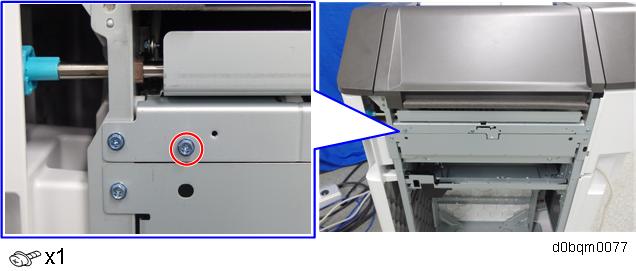
- Remove the fixing bracket [A].
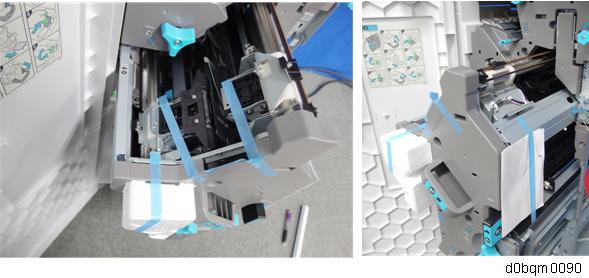
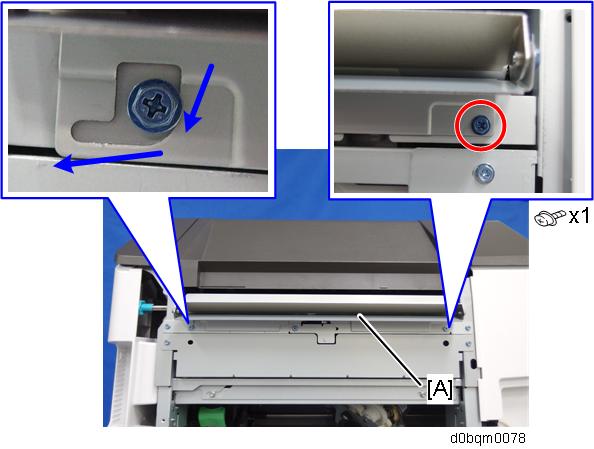
- Pull out the saddle stitch unit, and remove the packing taps and packing materials.
- Attach the shift tray [A] (
 ×1 : M4 × 8).
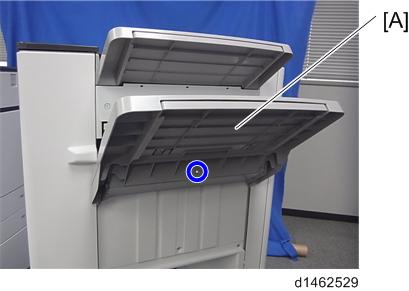
- Attach the booklet tray [A].

- Attach the relay guide plate in the following procedure.
- Temporarily attach the screw on the front side (3x6).
- Hook the relay guide plate [A] on the screw attached in step 1, then fully tighten the screw on the rear side (3x6).
- Fully tighten the screw on the front side.
- Temporarily attach the screw on the front side (3x6).
Clean the right side of the upper cover with a cloth moistened with alcohol, and then attach the cushion [A] to the finisher.
Make sure that the cushion is aligned with the guide rib of the upper cover.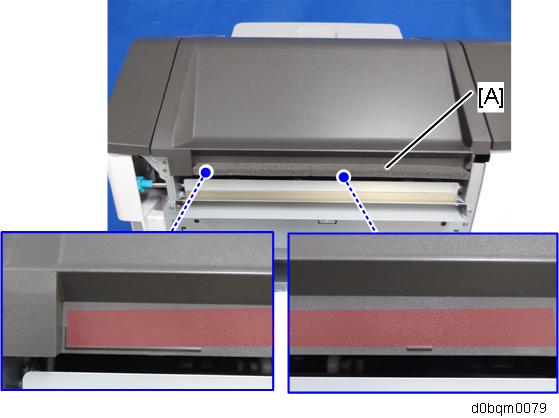

If the internal multi-fold unit is installed on the main machine, cut off the section of the cushion indicated by the notch so that the cushion does not interfere with the I/F connector [A] of the finisher.
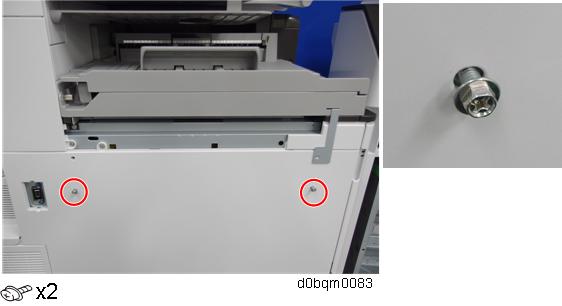
- Attach the ground plate [A] (3x6).
Attach the joint bracket [A] to the machine in the following procedure.
- Temporarily attach the screws on the lower screw holes (4x12).
- Hook the joint bracket [A] on the screws attached in step 1, then adjust the position so that the screw head comes to the center mark of the scale.
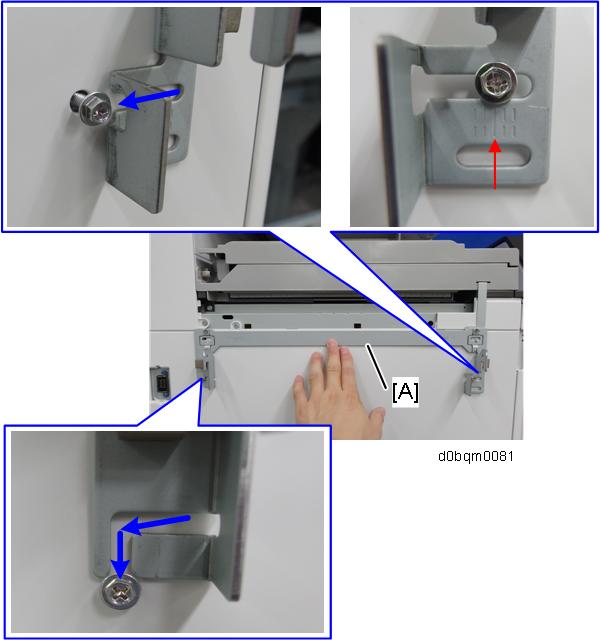
- Fully fix the joint bracket (4x12).
Tighten the joint bracket and bracket [A] of the bridge unit together.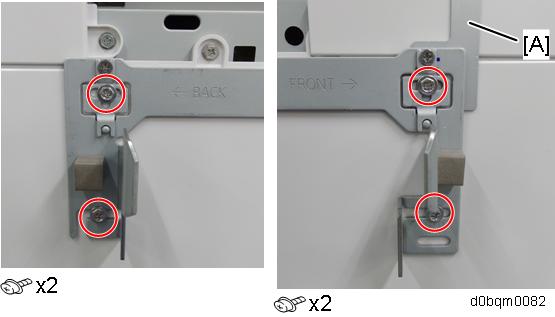
- Temporarily attach the screws on the lower screw holes (4x12).
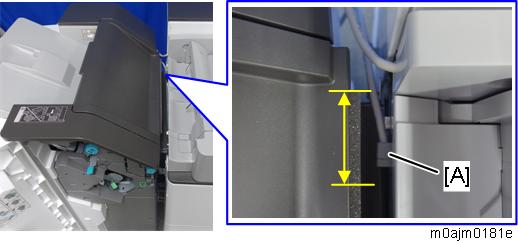
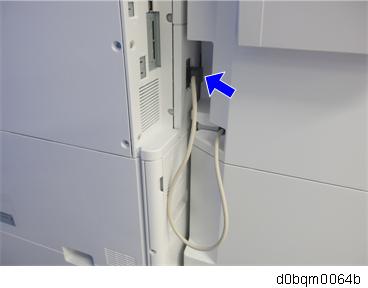
- Remove the connector cover [A] on the right side of the main machine.
When the Internal Multi-Fold Unit FD3010 is installed, it is not necessary to remove this cover.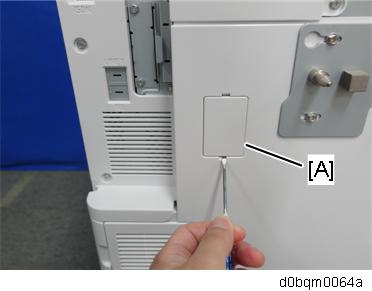
- When the Internal Multi-Fold Unit FD3010 is installed, connect the finisher cable to the connector on the internal multi-fold unit.
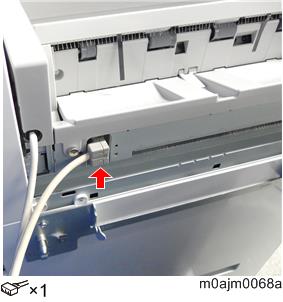
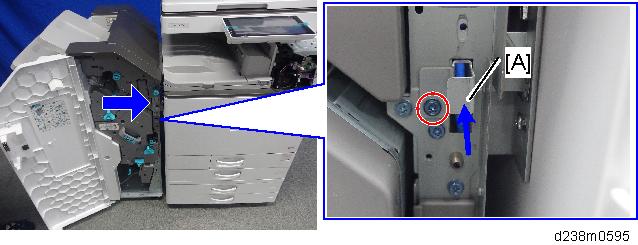
- Remove the screw on the connection lever [A] and pull the lever.
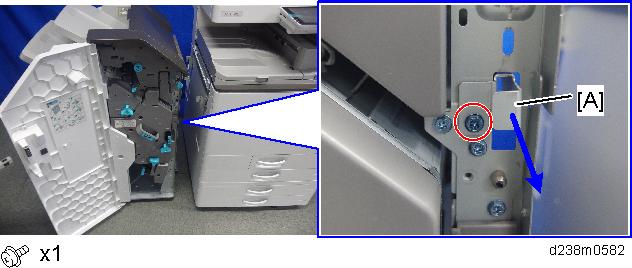
- Connect the finisher to the main unit, and then push in the connection lever [A] to fasten it to the main unit. (x1)
When the Internal Multi-Fold Unit FD3010 is installed, make sure that the finisher’s 2 cables are not crossing each other before you connect the finisher.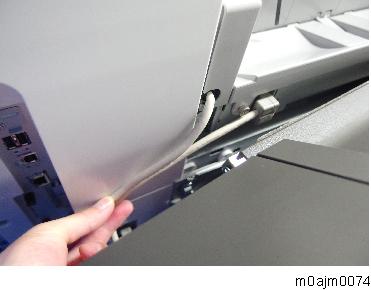
- When the bridge unit is installed, connect the interface cable to the machine.
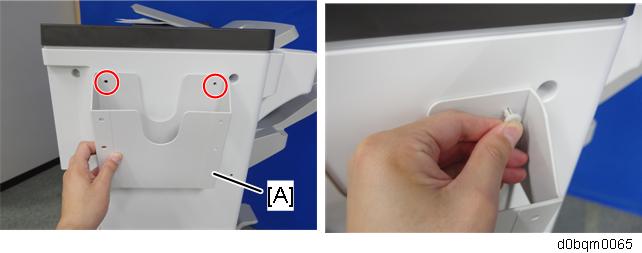
- Attach the tray holder [A].
- Close the front cover.
- Turn ON the main power.
- Deliver some A3/DLT paper to the proof tray and check if the vertical registration is correct according to the adjustment scale for A3/DLT paper (Side-to-side Registration Error (Finisher Registration Adjustment)).
- Check that the finisher can be selected on the operation panel, and check the finisher’s operation.