
- When installing this option, turn OFF the main power and unplug the power cord from the wall socket. If installing without turning OFF the main power, an electric shock or a malfunction may occur.
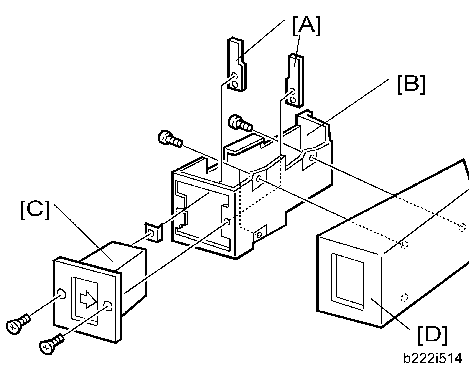
- Hold the key counter plate nuts [A] on the inside of the key counter bracket [B] and insert the key counter holder [C].
- Secure the key counter holder to the bracket (
 x2).
x2). - Install the key counter cover [D] (x2).
- Open the right door.
Right rear cover [A] (
x4, among them, tapping screw x1) 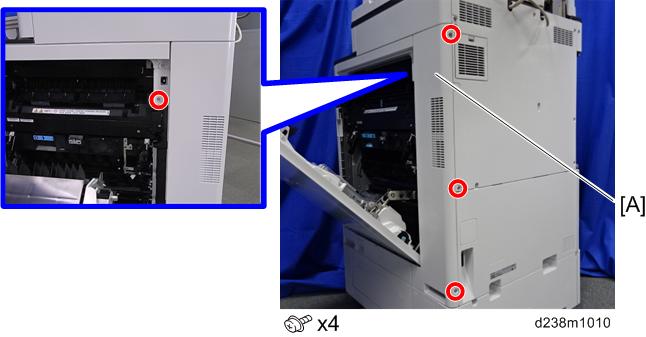

- When installing, insert the projections [A] in the holes [B], taking care not to trap the harness inside.
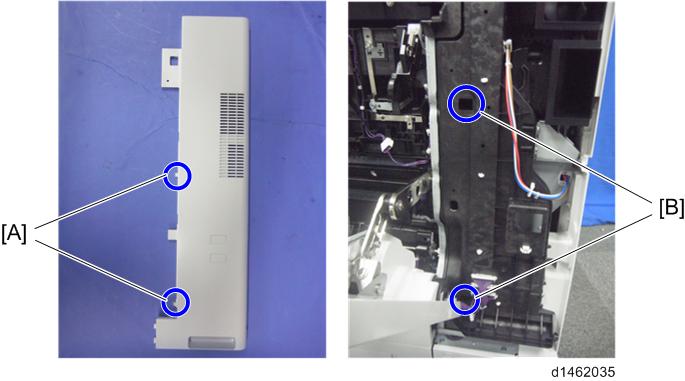
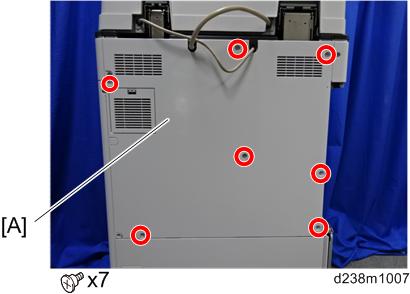
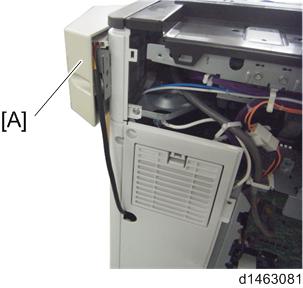
- Remove the rear cover [A].
- Remove the controller box cover [A].
Red Circle: Remove / Blue Circle: Loosen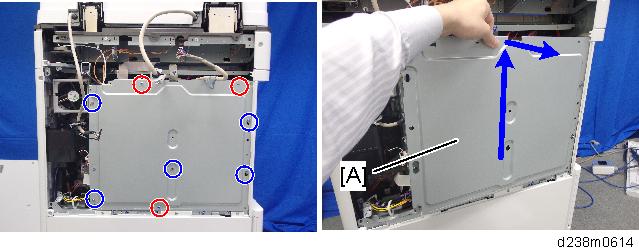
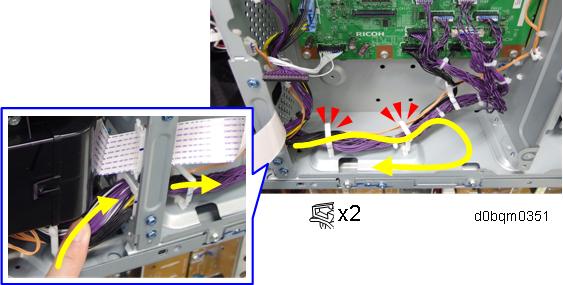
- Route the key counter’s cable inside the machine and clamp it.
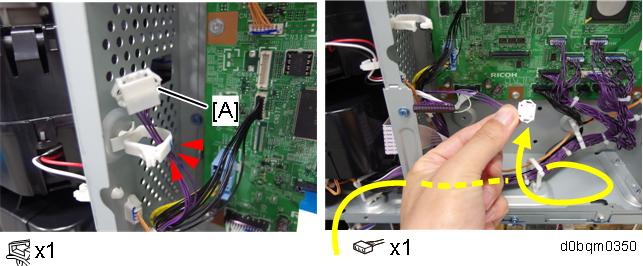
- Connect the key counter’s cable to the 4-pin connector [A] on the machine.
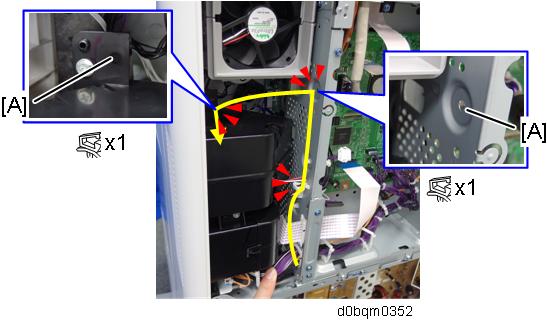
- Attach the supplied clamps [A], and then route the cable as shown.
- Open the slit in the rear cover to put the cable through, and then attach the rear cover while putting the cable through.

- Connect the key counter and cable.
- Attach the key counter [A] to the machine’s rear right.
- Reinstall all the covers on the main machine.
- Peel off the double sided tape on the key counter bracket and attach the key counter to the scanner right cover.
- Reassemble the machine.